Contents
Step 1: Set up correctly
Step 2: Clean your chain
Step 3: Grease the chain
Step 4: Check the chain tension
Step 5: Adjust the chain tension
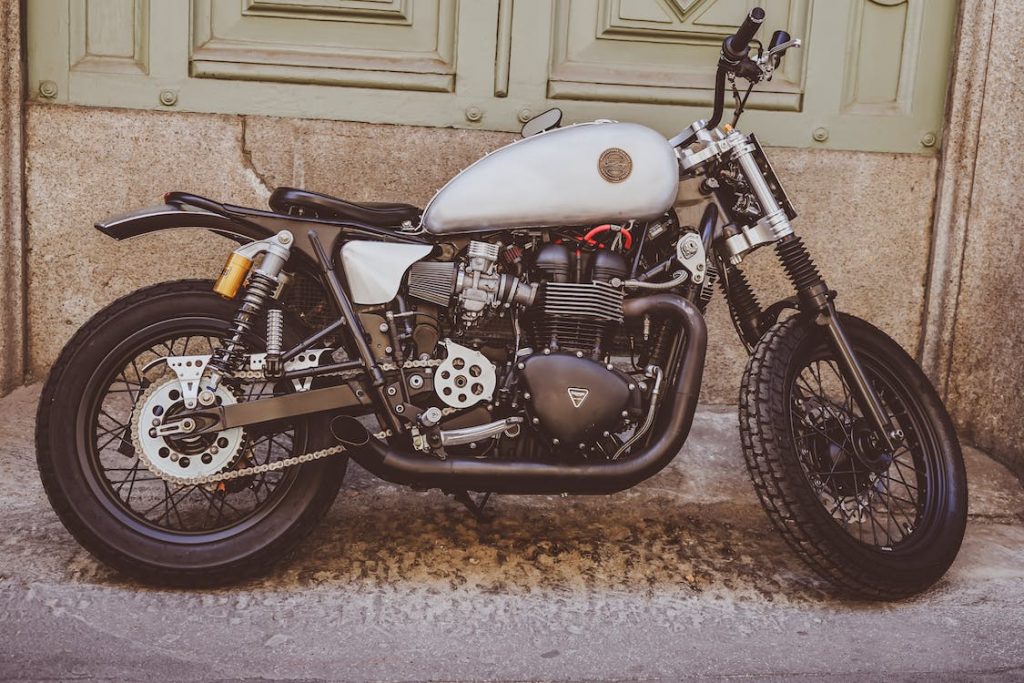
The chain kit transmits power from the engine to the rear wheel. It consists of three parts:
1. a sprocket located at the engine output;
2. a link chain that connects the sprocket to the crown;
3. the crown wheel.
This assembly, which is in friction, wears out in action and when stopped. It is, therefore, essential to take care of it to increase its life and limit the loss of engine power caused by a malfunction.
While lubrication and chain tensioning should be checked or carried out at least every 1000 kilometres, changing the chain kit is more complicated. Several factors come into play: maintenance, your riding style, or the bike (power, torque, and weight).
Winter or heavy rain also requires more regular lubrication. Otherwise, rust may appear.
Here is how to maintain your chain kit.
1. Set up correctly
– If your motorbike has a centre stand, place your motorbike on it. If not, the side stand will do, but you may want to put some brackets on the swingarm so that you can access your bike and turn the wheel without problems.
– Place a piece of cardboard underneath so that dirt can settle on it.
2. Clean your chain
– Clean your chain with the cleaning spray, which is generally fitted with a brush.
– After cleaning, clean and dry the chain with a cloth.
Good to know: De-oiled petroleum is another slightly cheaper solution. Brush it onto your chain.
3. Grease the chain

– Use the grease to brush on your chain. In all cases (spray, can, paste), turn your wheel slowly and manually to rotate the chain and get an even spray.
– If your rear wheel is not released by a high positioning (centre stand, stanchions, etc.), proceed step by step by moving your bike forward several times.
4. Check the chain tension
A chain kit that is too tight or loose will cause malfunctions such as jerking or breakage of the chain.
The chain travel measures the chain tension. Use your finger to pull the chain upwards halfway between the sprocket and the sprocket. The travel should be between 3 and 5 cm.
5. Adjust the chain tension
You will have to adjust the tension to determine whether the chain is too tight or not tight enough.
– To do this, loosen the tensioning system with the BTR spanner and then the wheel axle with an open-end or pipe spanner. There are several tensioning systems, but the push (or pull) wheel is the most common. Two BTR screws, positioned on either side of the swingarm, either visible or inside, push or pull when you operate on it. The principle is to screw or unscrew to move the wheel forward or backward. Be careful to make them move similarly so that the wheel stays on track. Logically, all the swing arms have markings to align them correctly.
– Once the tension is correct, tighten all the nuts. Sometimes when tightening, the system becomes a little tighter.
For eccentric systems, there is no screw, and it is a big notched wheel that will push or pull the wheel.
You will need to replace your chain if:
– You can no longer tension your chain kit properly (you can try to blow up links).
– The teeth of the sprocket become very sharp.
– If hard spots (two links that become fixed) appear, first clean them. If the hard spot persists, at least consider replacing the chain.
Materials for maintaining your chain kit
Spray grease
Flat spanner
Socket spanner
BTR spanner
Chain cleaner or paraffin
Cloth
That’s it. You are now done with maintaining your bike chain kit. If you are looking for professional bike repairs in Cheltenham, Classic & Vintage Motorcycle Garage is a full-service shop that specializes in classic, vintage, and antique motorcycles.


