5 Important Steps for Changing a Car Tire
Summary
– Step 1: Ensure your safety
– Step 2: Prepare to lift the car
– Step 3: Remove the wheel with the flat tire
– Step 4: Mount the spare tire
– Step 5: Lower the car and finish screwing
Changing a car tire can be done by anyone. However, you must follow some basic safety rules. Before changing your tire, it is essential to signal your presence by wearing a yellow safety vest and installing a warning triangle.
The steps to change a wheel are then simple and are the same whatever the tire to be changed, front or rear.
Attention: the yellow safety vest and the warning triangle are part of the mandatory equipment. Remember to equip yourself if you have not already done so!
1. Ensure your safety
First of all, if the situation does not allow you to place your vehicle outside the traffic lanes, respect these safety instructions:
– Place your vehicle on a flat, stable surface to prevent the car from moving when you lift it or the jack from sinking into the soft ground.

– Put on your yellow safety vest so you can be seen at the side of the road.
– Install the safety triangle 50 m away from your vehicle to signal your presence.
– Turn on your hazard lights.
– If the light level is not very high, turn on the night lights.
– Set the hand brake and put the vehicle in gear to stop the vehicle.
2. Prepare to lift the car
A vehicle’s spare tire is usually located in the trunk of the car, under the floorboard. There you will also find the jack and the tire wrench.
– Remove the hubcap by inserting your hands into the holes and giving it a sharp tug (some brands provide a special hook for removing the hubcap).
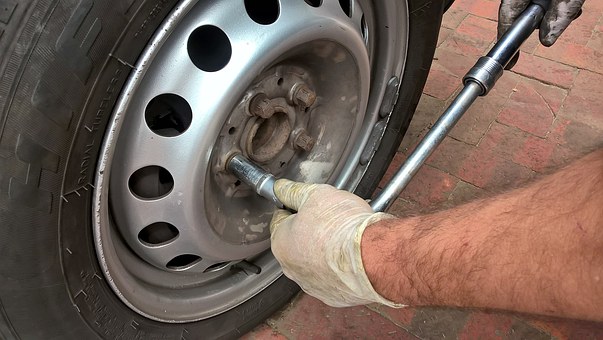
– Loosen the 4 nuts one or two turns with the wrench:
◦ Loosen counterclockwise.
◦ Feel free to pry with your foot if necessary or use a tube to make an extension and thus have more strength.
3. Remove the wheel with the flat tire
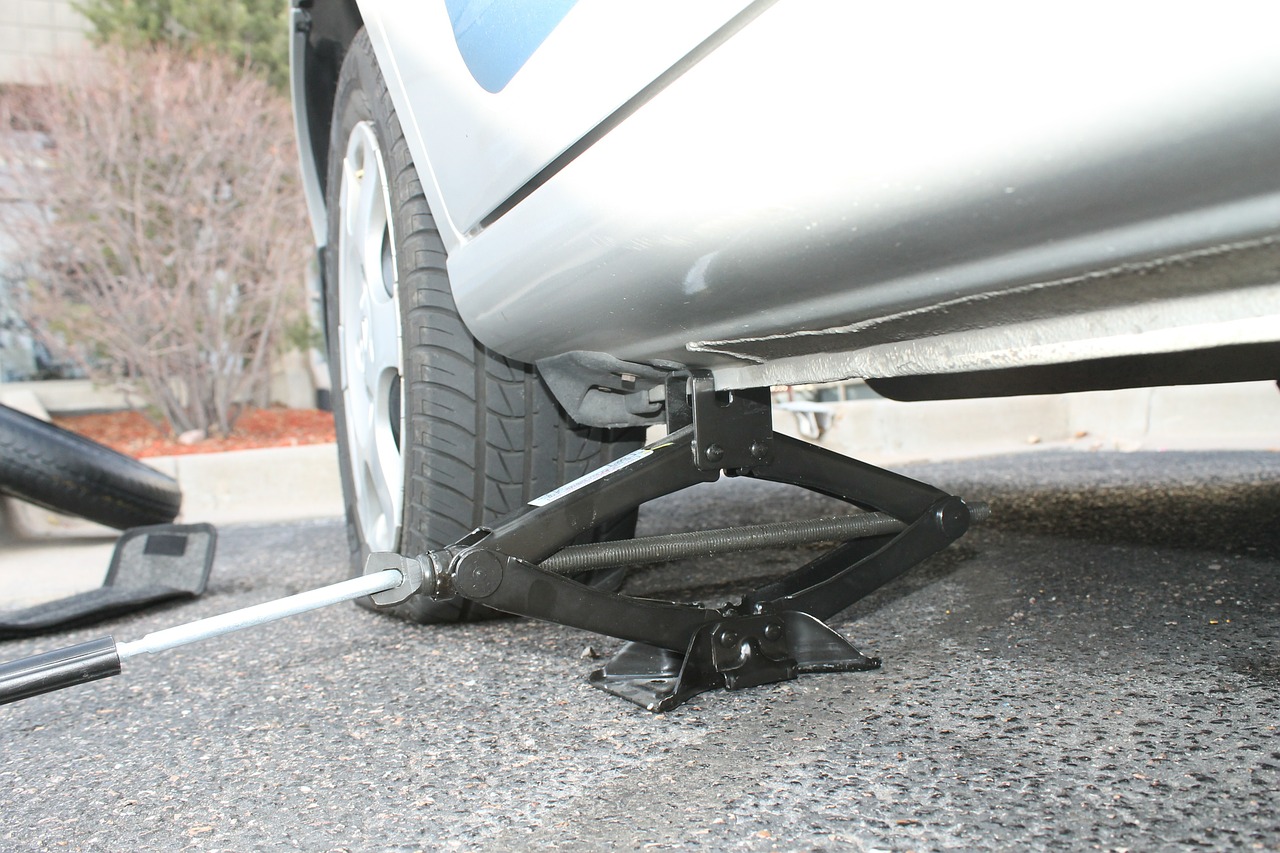
– Place the jack under the car about 20 cm from the tire: manufacturers usually place a visual marker to help you place your jack correctly.
– Maneuver the jack clockwise to raise the vehicle.
– Raise the vehicle until the wheel is 2 inches off the ground.
– Loosen the tire nuts completely with the wrench and then by hand.
– Remove the wheel.
– Take the spare tire and store the wheel with the defective tire in its place.
Mount the spare tire
– Place the spare tire in place of the defective tire.
– Align the holes so you can put the nuts back on.
– Hold the spare tire in place with one hand.
– With the other hand, place the nuts.
– Position the nuts according to the north-south and east-west directions.
– Tighten the nuts by hand.
– Tighten slightly with the wrench: the final tightening is done once the car is on the ground.
5. Lower the car and finish screwing

– Maneuver the jack to lower the car ultimately.
– Screw the nuts firmly with the wrench, still using the principle of the cardinal point: you can use your foot for disassembly to ensure a good tightening. Be careful not to overtighten.
– Ideally, a torque wrench is recommended by the manufacturer.
– Replace the hubcap, taking care to place a hole facing the inflation valve.
– Store the jack and wrench with the flat tire in the trunk.
– Carefully remove the warning triangle.
You can now get back on the road, but remember that a spare tire is a temporary device. You will need to adjust your driving speed by not exceeding 70 km/h. Therefore, it is essential to go to a garage as soon as possible to have your tire changed!


