Brake fluid is an essential part of a vehicle braking system. When the brake pedal is pressed, it creates pressure in the brake lines to help reduce speed or stop a car. Like for any other components of a vehicle, there comes a time when things are worn out. You should maintain your brake fluid levels to stay safe at all times.
New brake fluid has a honey-brown color. If your brake fluid appears black similar to the color of used engine oil, or the fluid is of a gritty consistency, it is time to change the brake fluid in your vehicle.
Materials needed:
– Carjack
– Empty container
– Axle stand
– Lug nut wrench
– Brake bleeder hose
– Brake bleeder wrench
Step 1: Lift your vehicle
Jack up your car until you reach the back of the wheel assembly.
For safety reason, place an axle stand under the frame so that if the jack slips, the axle stand can protect you from injury while you are operating beneath your automobile.
Step 2: Take away the wheel
Use the lug nut wrench to take out the lug nuts of the wheel. It’s easier to access the brake bleeder screw with the wheel removed.
Step 3: Open the bleeder screw
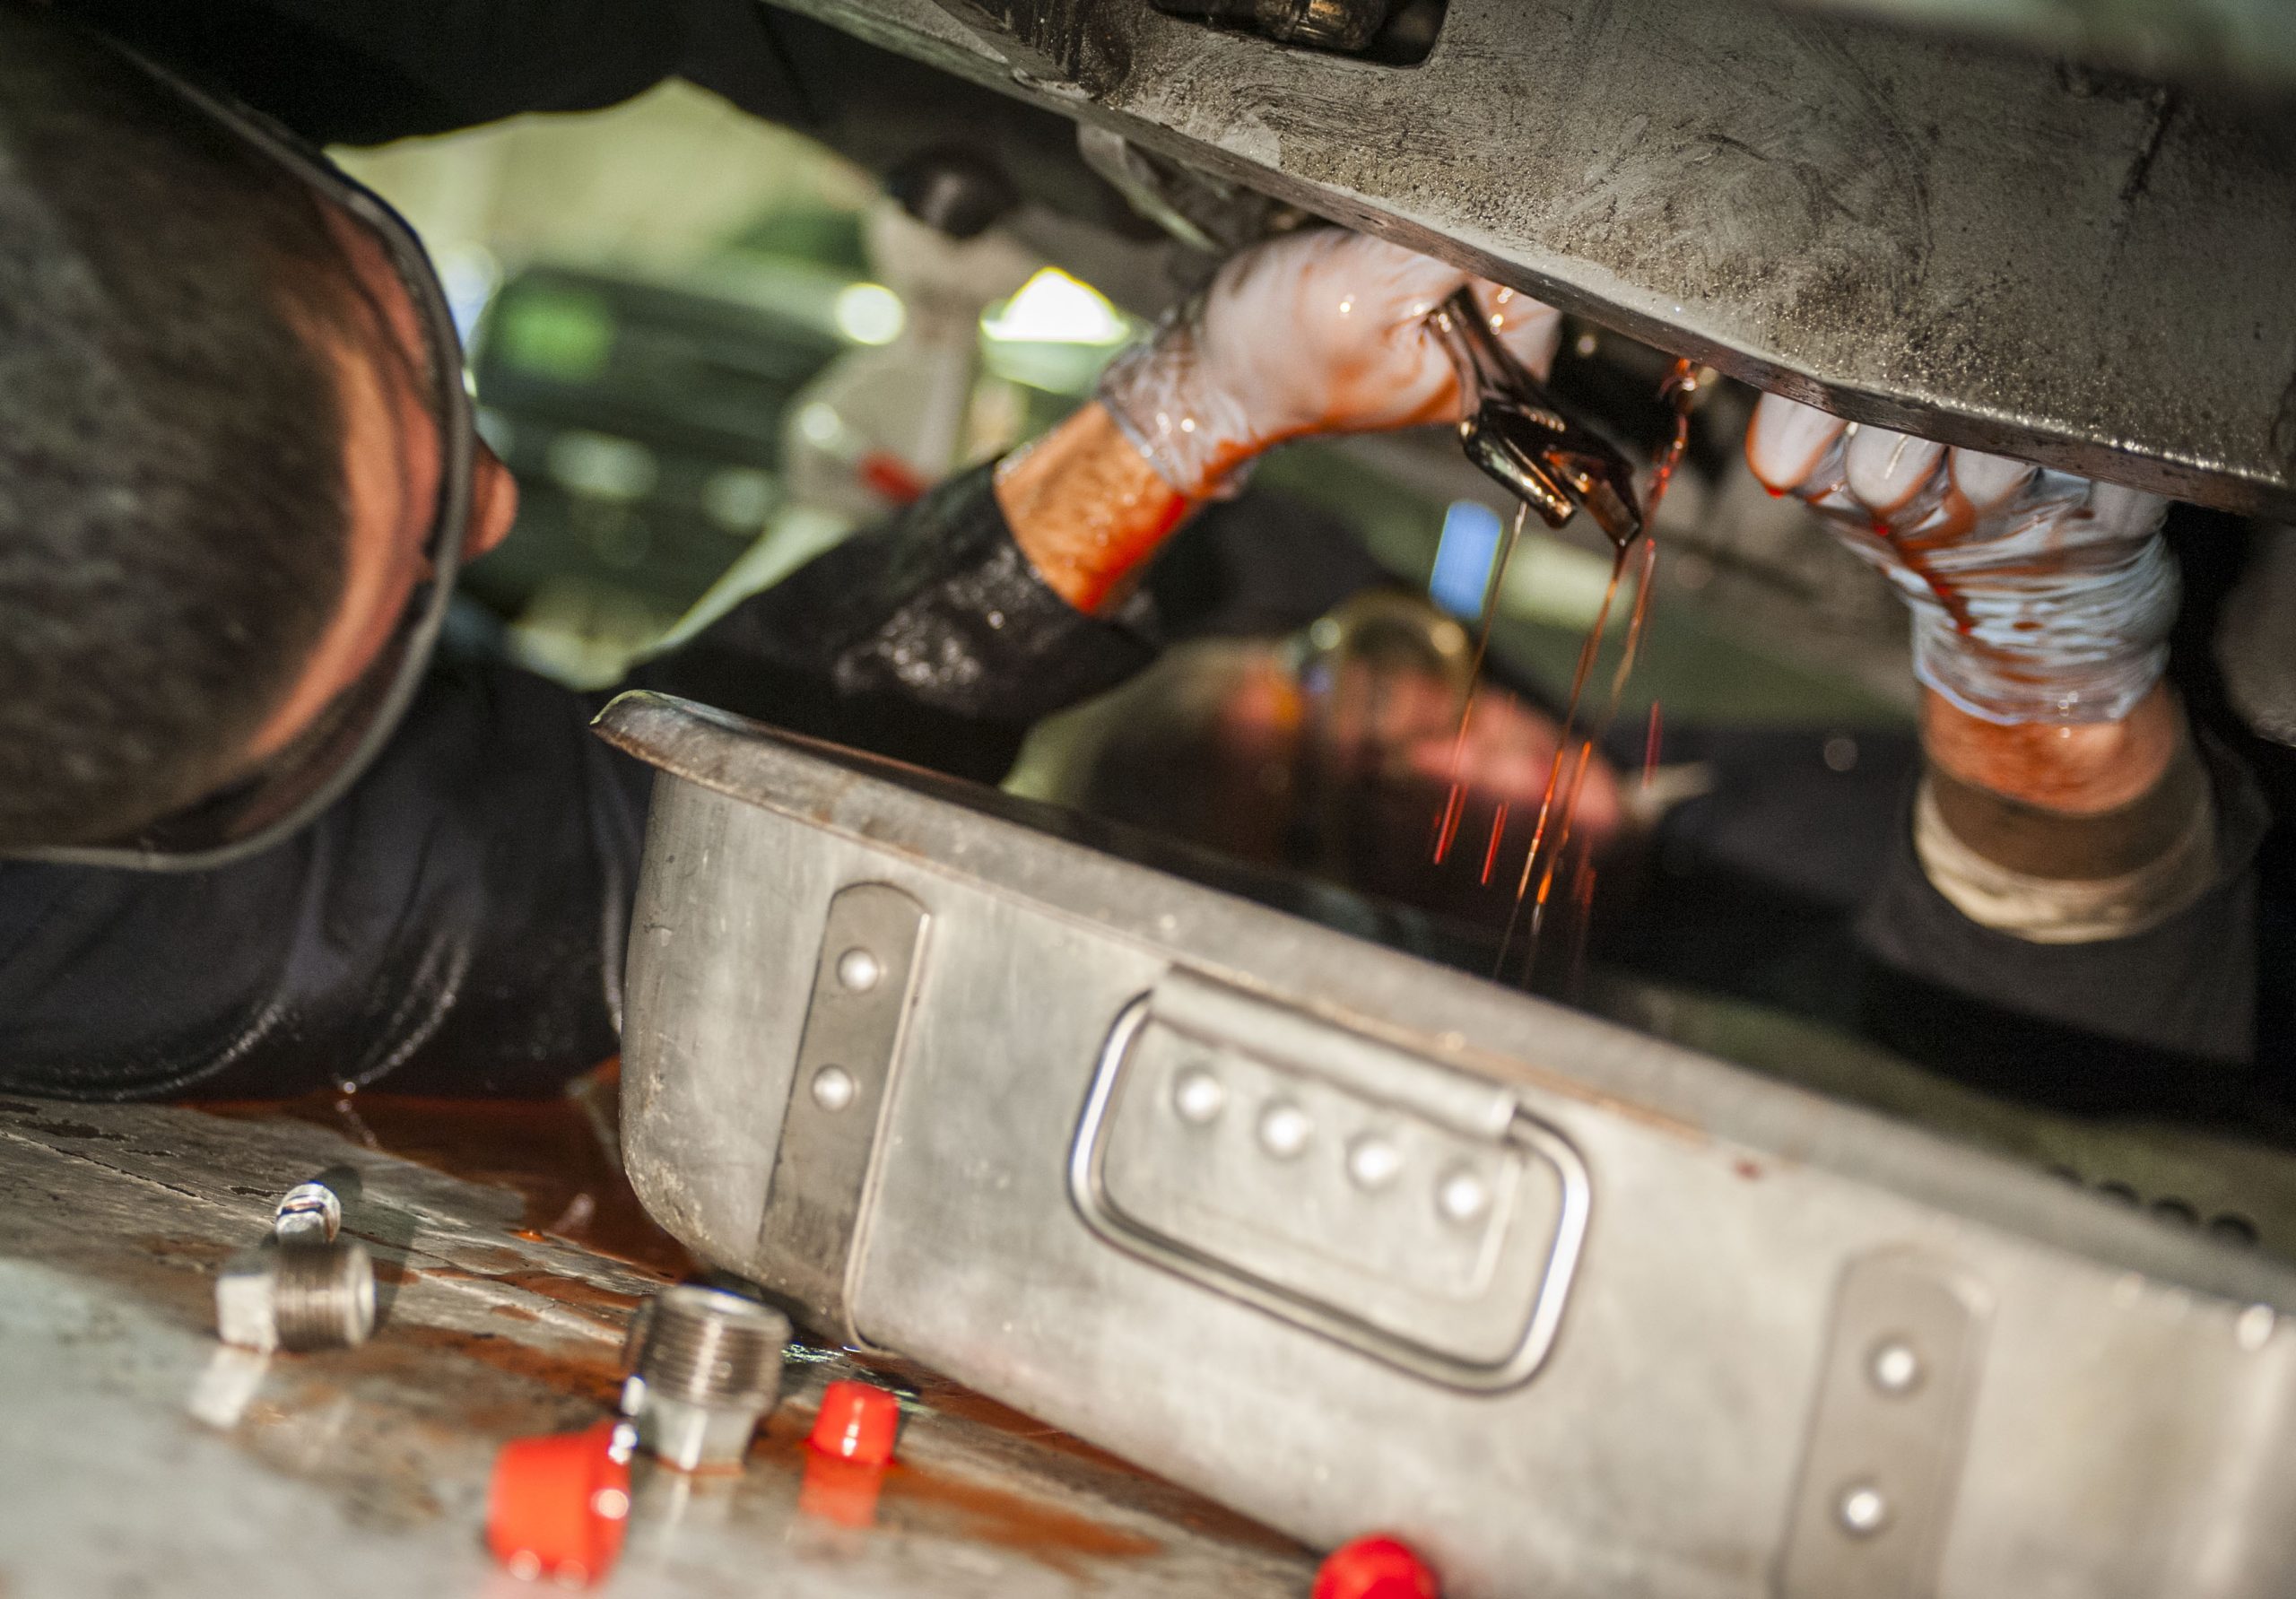
The bleeder screw is a hex screw with a hole at the center. Find the bleeder screw on the rear of the wheel knuckle or on the brake caliper and unscrew it.
Keep turning the bleeder screw off a half-turn at a time till you see drops of brake fluid come back from the top.
Step 4: Install the brake bleeder hose
Match the brake bleeder hose onto the bleeder screw.
Step 5: Add the brake fluid
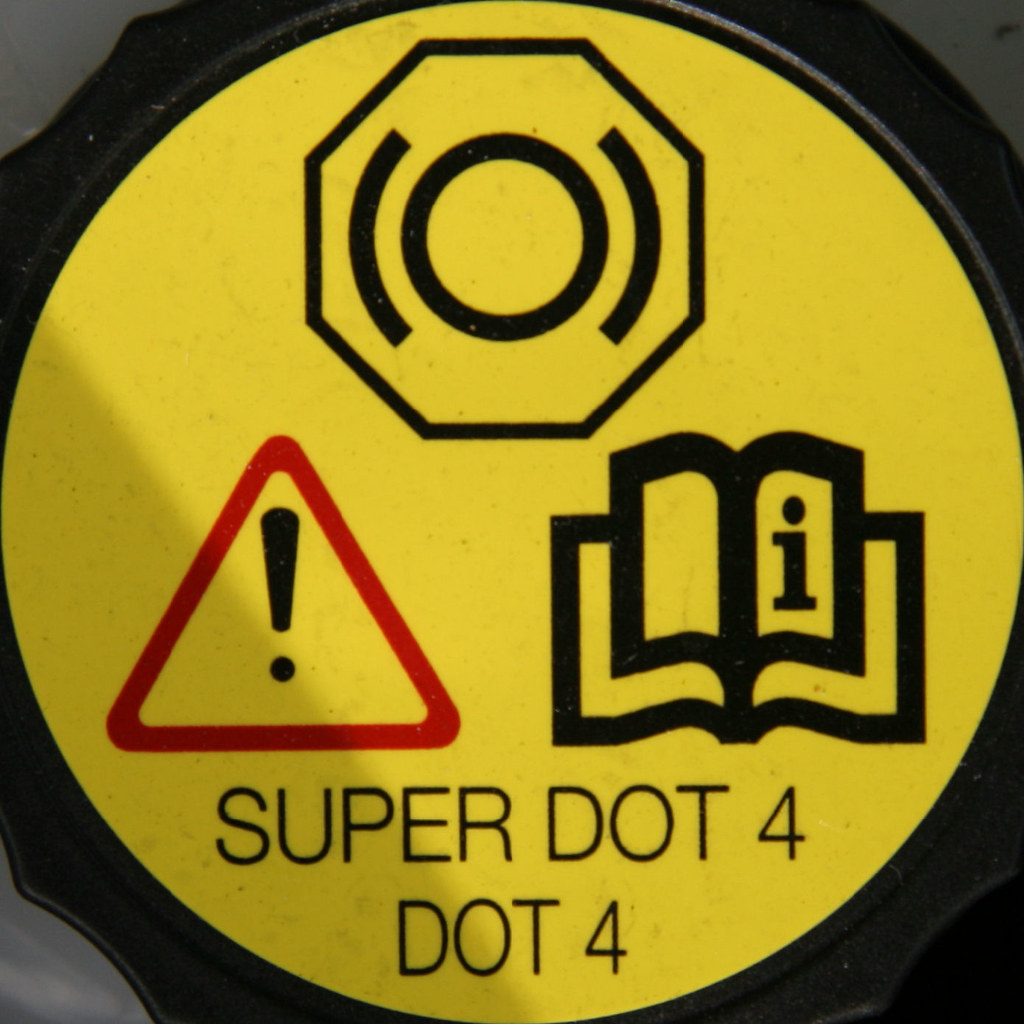
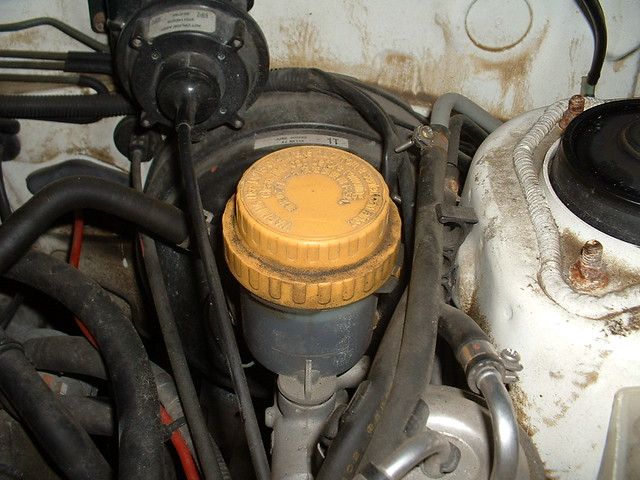
Use clean brake fluid of a similar type as indicated on the reservoir lid to refill the brake fluid.
Throughout this method, add brake fluid after pressing the brake pedal every 7 times.
Note: Don’t let the reservoir go empty at any time. Air will enter the brake lines and cause a spongy foot pedal. At times it can be a tough job to remove air in the lines.
Step 6: Pump the brakes 7 times and press the pedal as deeply as possible at each press

Check the color of the brake fluid in the bleeder hose. If the fluid remains dirty, pump the brakes seven times again. Top up the brake fluid in the small brake fluid reservoir after every interval of pumping the brakes. Once flushing is done, refill all four lines with clean brake fluid.
Step 7: Repeat the procedure for all four wheels
After flushing all four lines with clean fluid, the brake fluid in your whole brake system will be new and the fluid in your reservoir will look clean.
The brake fluid modification is completed once the fluid appears clean in the brake bleeder hose.
Step 8: Set up the wheel space
Take out the brake bleeder hose and tighten the bleeder screw on all four wheels
Put the wheel back on and tighten all the nuts.
Remove the stand from below your vehicle and lower your automobile to the ground.
Step 9: Pump your brake pedal
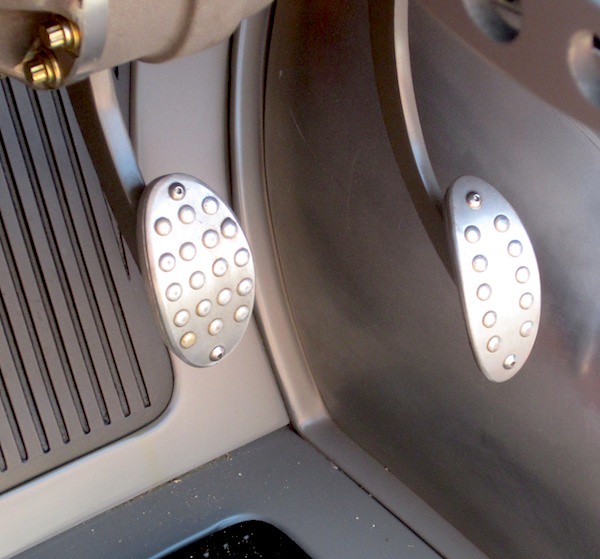
With everything reassembled, pump the brake pedal firmly seven times. You must do this to remove air from the brake lines.
The first time you pump the pedal, it may go deep inside and touch your floor mat. Don’t worry, the pedal will firm up after a few more presses.
Caution: Never drive your car without completing step 9 (pumping up your brakes) because in case you forgot to pump the brakes, they may fail during a road test and the car may crash into an accident.
Step 10: Test drive the car
Put your car in drive mode with your foot pressed hard on the brake pedal.
Tip: If your car moves despite your foot is on the brake, put the gear back in park mode and pump the brake pedal some more. Put your car in drive mode again, and try the brakes once more. Your brakes should now work correctly.
Note: In case you need some more help, you can take your car to Xtreme Motor Works. They are a professional auto maintenance and repair shop based in Kissimmee.
Drive slowly around and test the brakes many times to make sure they are responding correctly.
Tip: Keep your hands ready on the emergency brake in the event your brakes fail.
Step 11: Check for brake fluid leaks

Open the hood and check for brake fluid leaks around the reservoir or on the ground. You should look below the car and check for fluid leaks at each wheel.
Warning!
If you see fluid leaks, do not attempt to drive your car before getting them repaired.

Tip: Change your car’s brake fluid after 2-3 years to maintain your brakes. The brake fluid should always remain at the proper level. It is quite an easy job to replenish the brake fluid by yourself but make sure you are using the correct fluid number which should be something like DOT 3 or DOT 4.
If you find that you still have an issue with your braking system, get a certified mechanic to inspect your vehicle.
Hope the above helps! Don’t forget to share your experience in the comment section below.


7 thoughts on “How to Change Your Brake Fluid”